( Screen - Shots of Oracle Version 9.2.0.1.0 )
After the CD is stored in the CD-Device the installation-program is running automatically.
Tip: Only the most important masks of the "Oracle Universal Installer" are shown here.
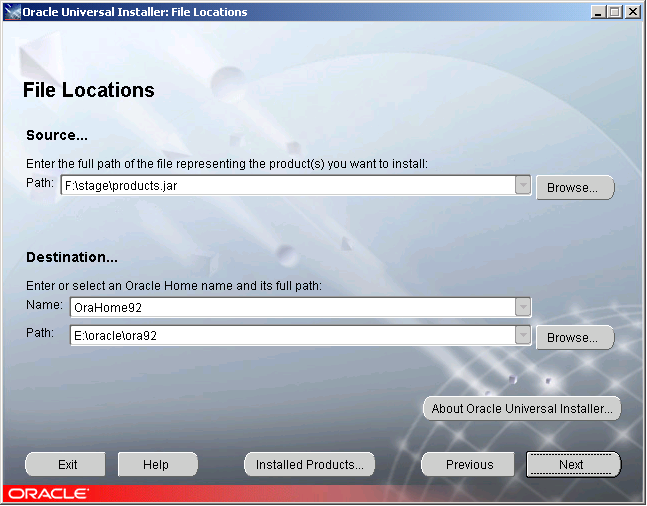
Entering the installation-path
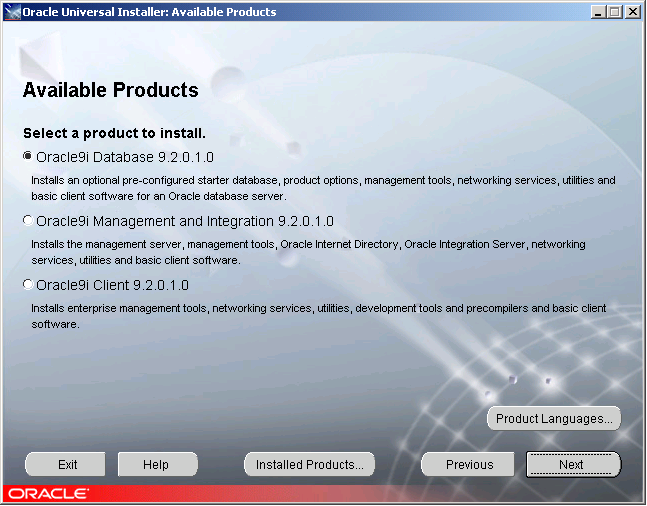
Choosing the product, here "Oracle 9i Database 9.2.0.1.0"
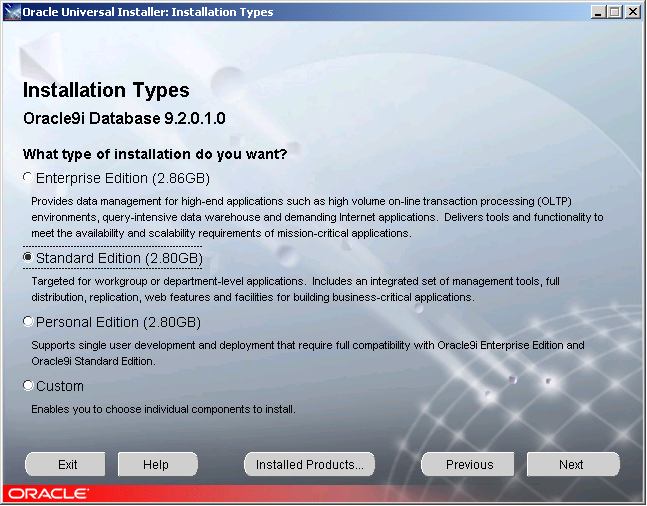
Choosing the type of installation of your oracle license, here "Standard Edition" for Server and "Personal Edition" for Single-User Installation
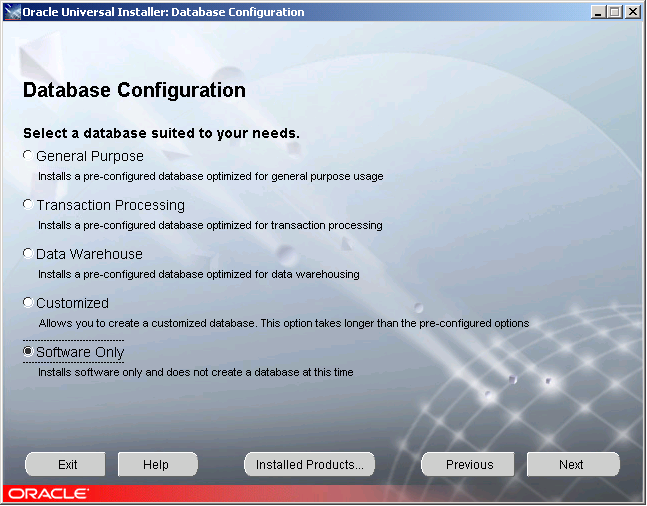
Selection here "only software", in order to provide the data base later with "The Database Configuration Assistant".
If you want to provide equal data base with, take "universal", and check you under 2.2.1 for the Database Configuration Assistant. Note in this case the transacted data for SID, hostname and Net service name for the later Client installation!
"Oracle Services for Microsoft Transaction Server" and "Overview" in each case confirm with "next".
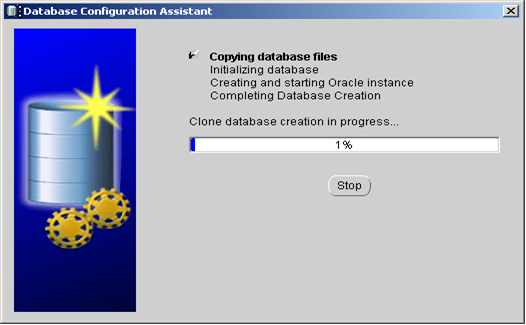
After the files are copied from the CD, confirm still the end.
Automatical runs the Enterprise Manager.
If you have choosen "Only Software", ask the system for "Hostname", "SID" und "Net Service Name". If you have already running a Oracle database in your network, you can here set your own entries, otherwise cancel and close the Enterprise Manager, and go to capitel 2.2
If you have choosen "Universal" for datenbase-configuration, the Installation is completed and you can start the client installation.
Start the Database Configuration Assistant under Start / All Programs / Oracle-OraHome92 / Configuration and Migration Tools.
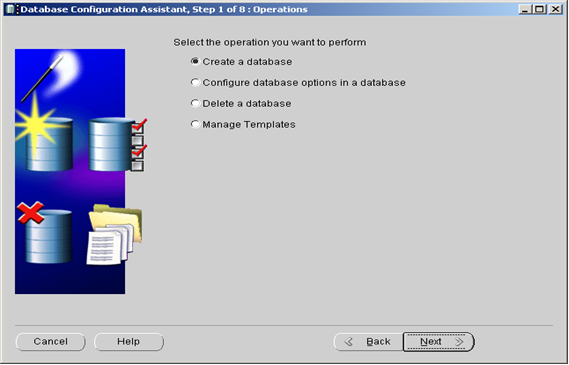
Confirm the greetings with "Next" and arrive in such at step 1 to 7.
Select "Create a database" at step 1

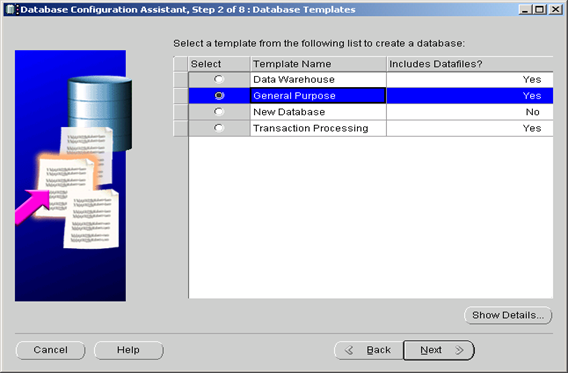
Select "General Purpose" at step 2
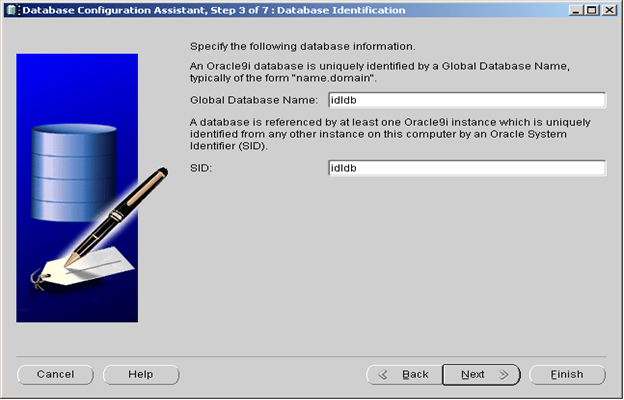
Global Database Name and SID are best of all: IDLDB
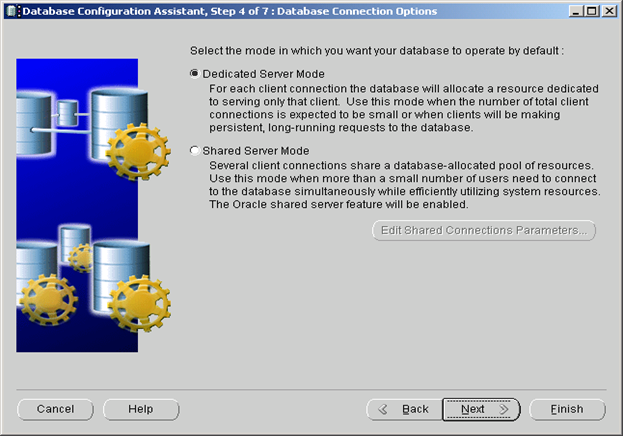
Select "Dedicated Server Mode" at step 4
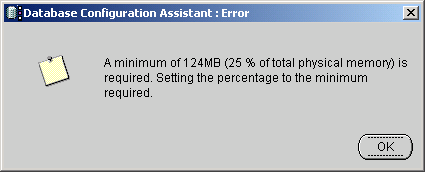
Select standard as memory and enter a percentage, which corresponds to at least 124 MB of the physical memory.
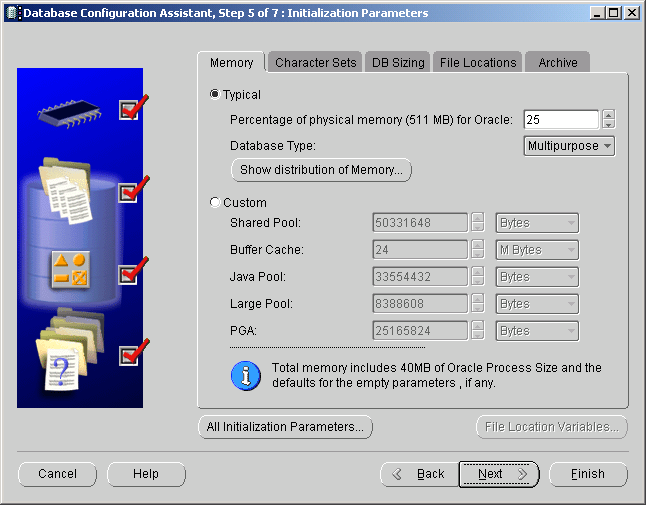
An example for the correct percentage by 512 MB physical memory.
The other 4 tab-pages control
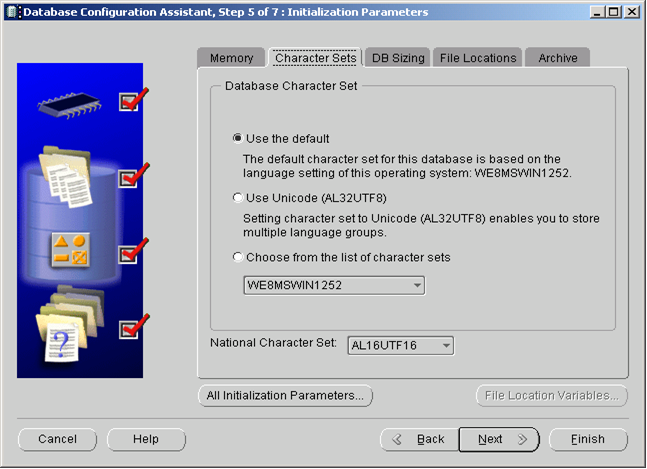
If the language under the operating system is "WE8MSWIN1252" choose Use the default as "Character Set. Otherwise "Choose from the list of character sets" this character set. If you want use Unicode, choose "Unicode (AL32UTF-8)".
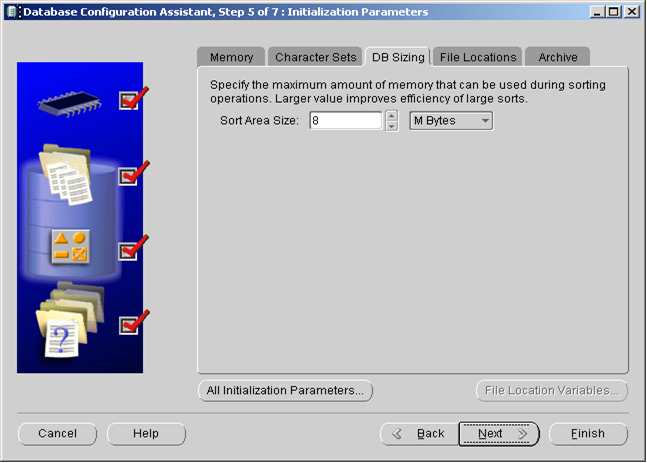
Set under "DB Sizing‚" 8 MB for sort area size.
Confirm tab-page "File Locations".

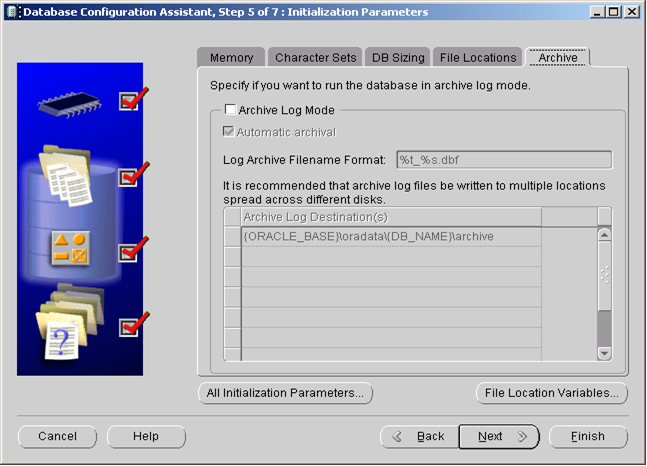
Archiving is not enabled, unless your local DBA wants it.
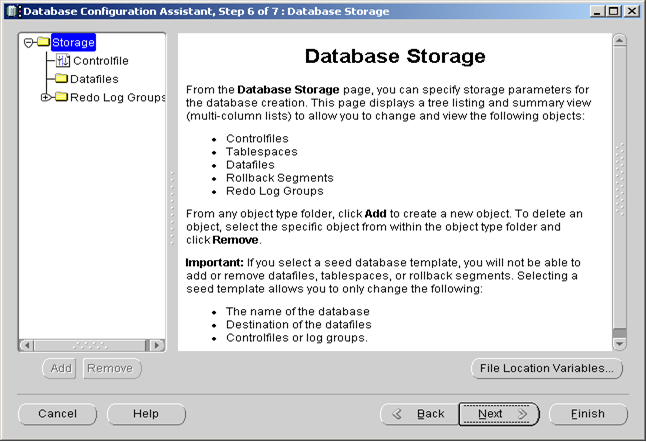
Confirm Database storage.
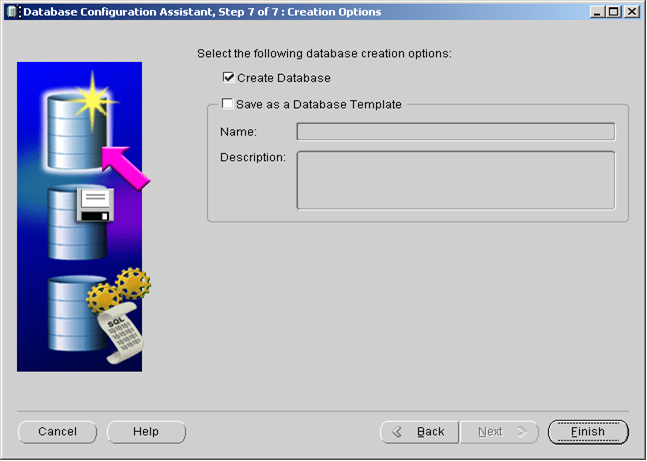
Finish at step 7.
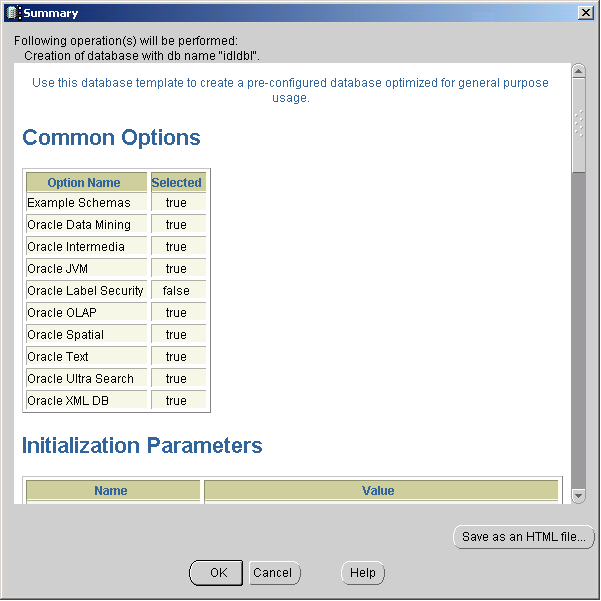
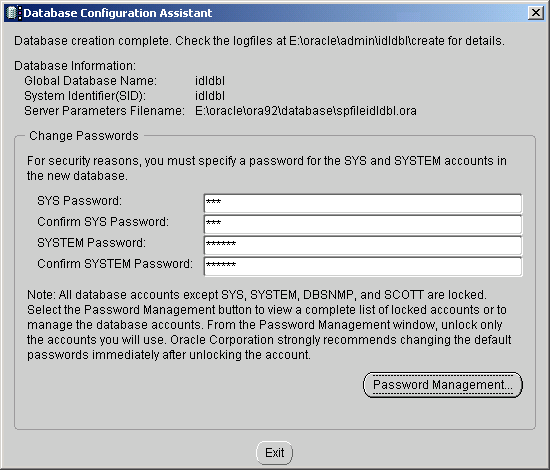
Summary of all common options for Creation of Database. Confirm with < OK >.
At least enter the passwords for the Oracle System administrator "SYS" and "SYSTEM".
If you have choosen UNICODE (AL32UTF-8) for your database, insert into INIT.ORA following parameter:
NLS_LENGTH_SEMANTICS=CHAR
shutdown and restart the instance before you are creating the tables.
Start the " Net Configuration Assistant " under Start / All Programs / Oracle - OraDb10g_home1 / Configuration and Migration Tools.
Start the "Net Configuration Assistant" under Start / All Programs / Oracle - OraDb10g_home1 / Configuration and Migration Tools.
Create Tablespace KONSIS:
There should exist a database-user named idldb with the authority of RESOURCE. This is the master of all IDL Konsis-Tables.
The table-space KONSIS is assigned to the user idldb. In this space all IDL Konsis-Tables shall be generated.
Running of IDL Konsis requires one user IDLADMIN and all IDL Konsis-User with CONNECT-rights to the database. The maximum lengths of the User-Id and Password should not exceed 8 digits. It is recommended to allocate Temporary Table-space for all user explicitly TEMP.
Repeat this inputs for two times.
If there exists an export-file of the Oracle database the Import-option of Oracle can be used to load the database. Standard naming of the export-file on IDL Konsis-Installation CD is IDLDB_EXP.DMP, and the Version of the exported Oracle DB is standing in the name of the directory!
The Export-file should be copied before importing it to for reading it from there, because the CD isn't so fast as a disc-device when the IMPORT-Command is activated.
Tip: When you want change datas between two databases with Import and Export, you have look implicitly that the character set are equal of the two databases. Example: Character set "Unicode" and "Not Unicode" are incompatible.
The advantage of this procedure is speed and simplicity.
During installations to an existing authority occasionally the request is needed to update the user service class. All tables and views are set to PUBLIC. Through this every user can access all tables. The users of the other authority also therefore come about SQL orders from the IDL Konsis system to the data. To stop this, a role of KONSIS laid out which gets all rights to the tables and views. The PUBLIC rights can be withdrawn from the tables and views again with that. Only the users which will work directly with IDL Konsis get the role of KONSIS allocated now. Scripts (packages) were, made these in the SQL -- can plus be executed for this:
For handling this situation there are defined scripts (packages), which can be executed under SQLPlus.
The user IDLADMIN and all further users need the role of KONSIS.
Moving the indices to the Tablespace INDX only is needed if for performance reasons the Tablespace was laid out on another disc.
The required files are on the IDL Konsis CD "Delivery" in the folder < \DBSAVE\ORACLE\KONSIS-ROLLE-xx-ENG.ZIP. >
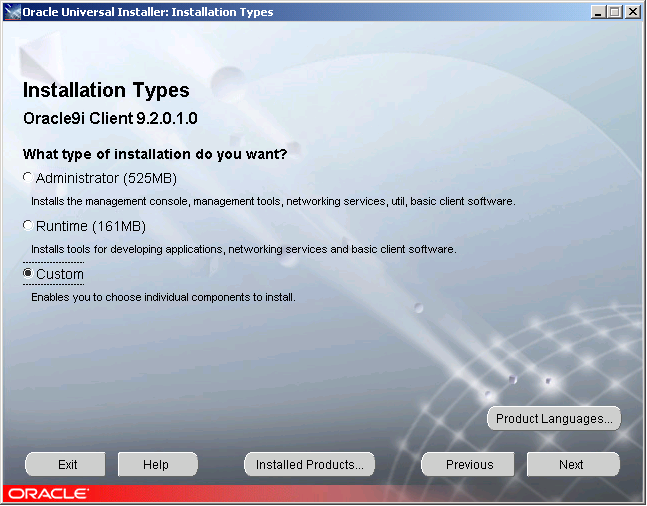
Required is the CD: "Oracle 9i Client" Release 2 (9.2.0.1.0)
After mounting the CD the installation-program starts automatically.
Option of target directory:

Select Custom as type of installation.
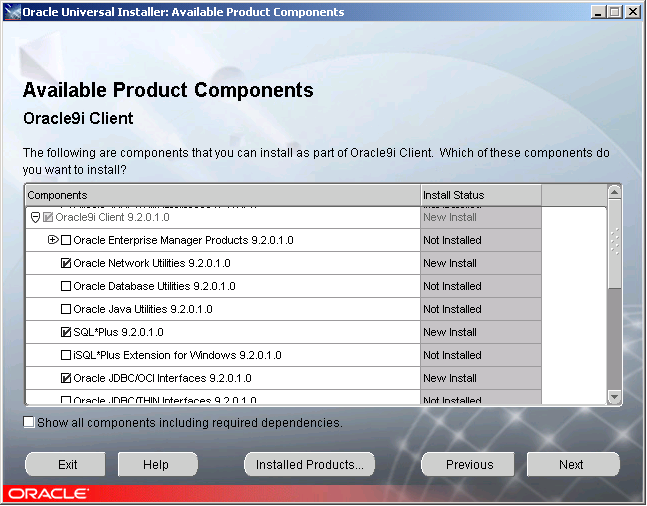
Available Product Components:
Select additional available product components:
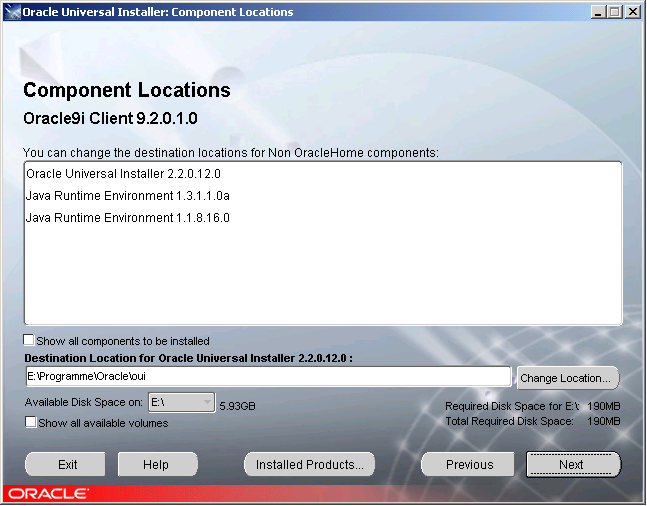
Component Locations are not to change.
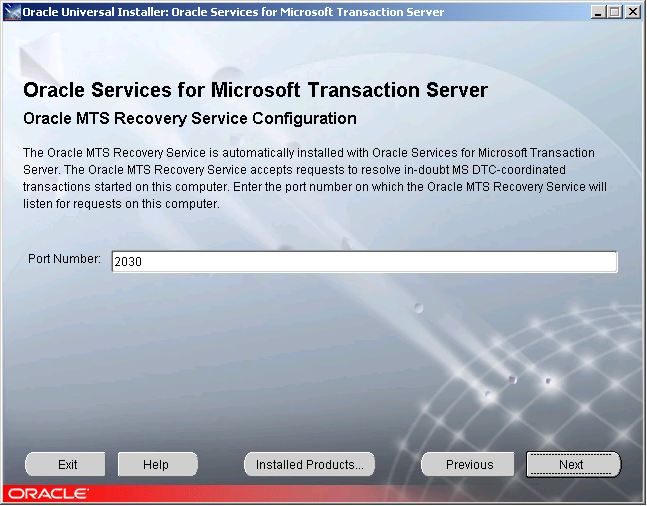
Confirm the "Oracle Services for Microsoft Transaction Server" with Port Number: 2030.
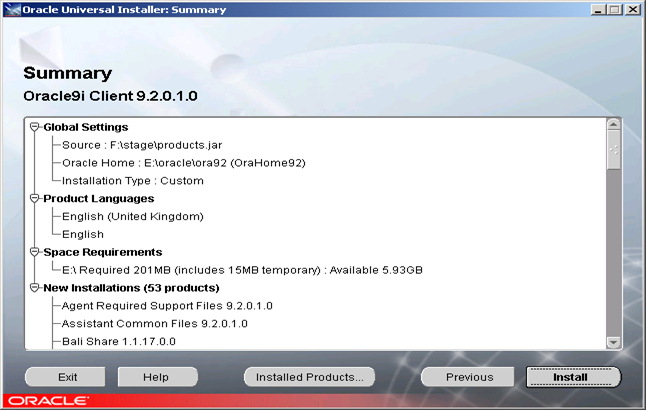
Confirm the summary of selected components to start the installation procedure.
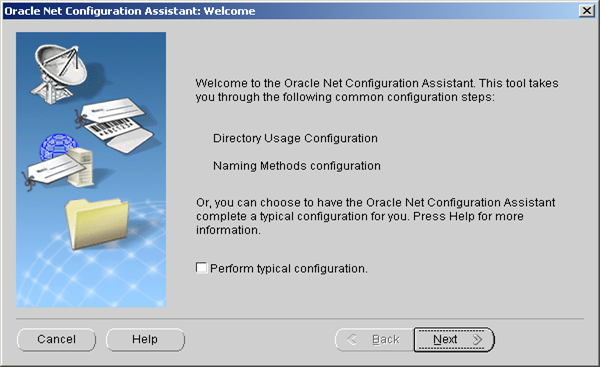
After the installation starts automatically "Net Configuration Assistant" with chapter 5.2.1 - "Welcome".
Welcome: Don't choose "Perform typical configuration".
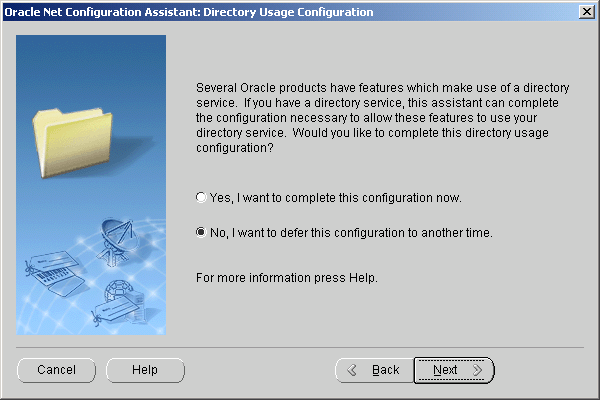
Directory Usage Configuration: Ignore it with "No....".
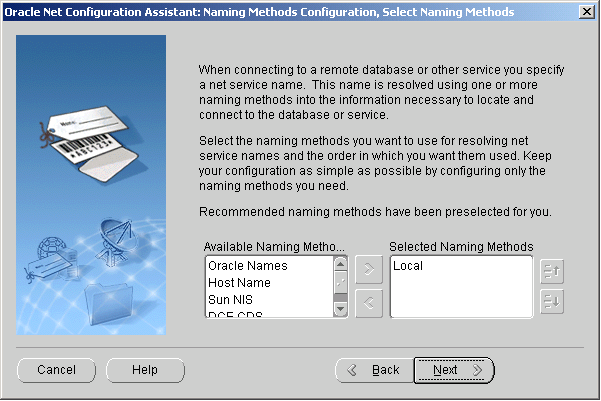
Confirm "Naming Methods Configuration.." with < Next >.
Confirm "No, I will create net services names myself...."

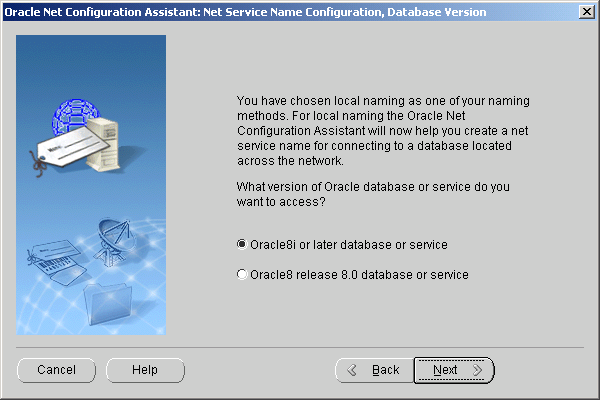
Choose "Oracle 8i- or later database..."
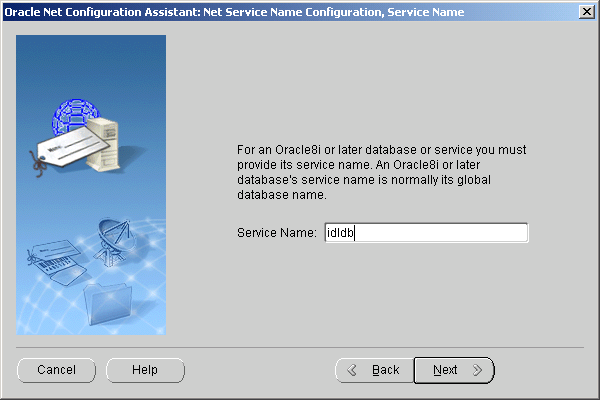
"Configuration of Service-name:" Enter the "Service name" from the Oracle database , which is running on the server. Default name is IDLDB
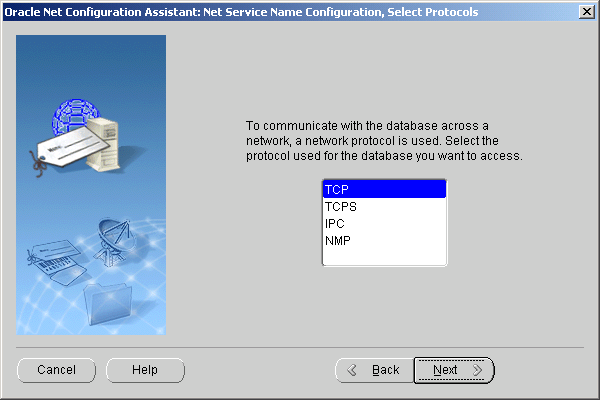
Select the protocol TCP used for the database you want to access.
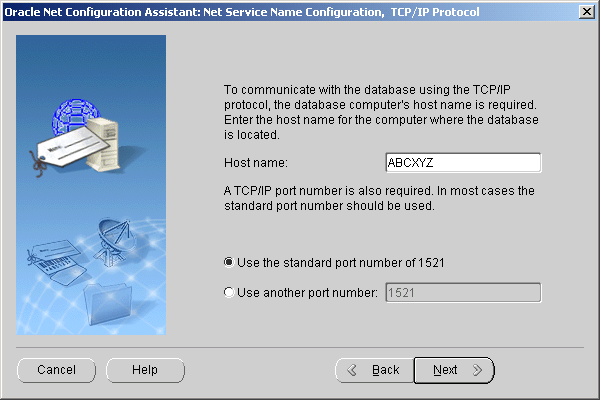
Enter the host-name for the computer where the database is located. The Host should be reachable via ping in a DOS window! Select standard port number 1521.
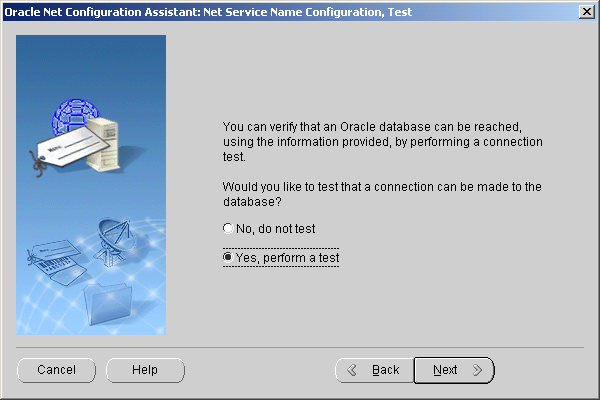
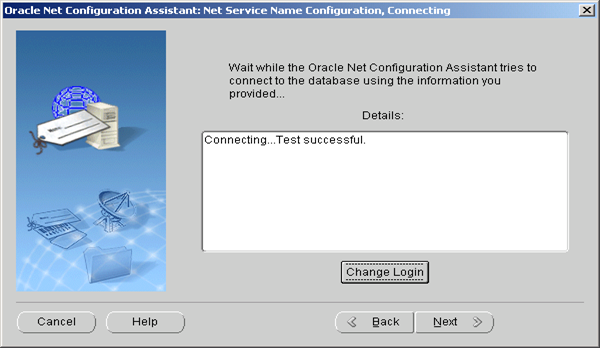
A connection test can be performed to the database.
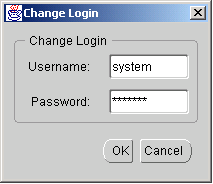
Change the password with the button "Change Login".
Please enter the right password, which you have given by the Oracle server installation for User SYSTEM.
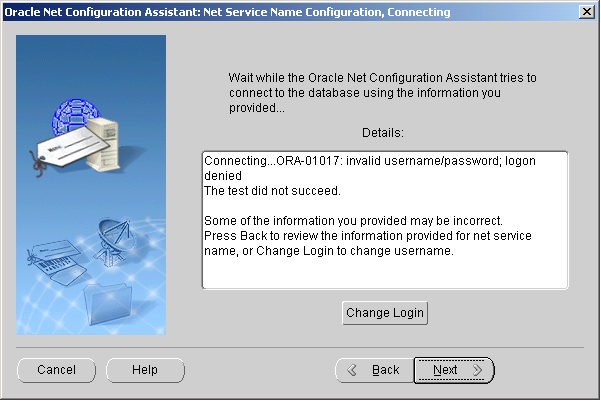
So you get the message Connection...Testsuccessful.
Failing connections can be stored anyhow and can be configured and tested later via the "Net Assistant".
Enter "IDLDB" for this net service name.

Confirm with "NO" for another net service name.
Confirm the message "Net service name configuration complete!" and close the program.
Working connections to the server on Windows 95/98-platforms requires the parameter SQLNET.AUTHENTICATION_SERVICES=(NONE)
in the file < Oracle.Installation.Path >\ Network\Admin\sqlnet.ora.